
Clinical Overview
Peripheral Intravenous (IV) cannulation is an essential invasive nursing intervention. It allows for the immediate administration of fluids, medications, blood products, and nutritional support directly into the systemic circulation. To ensure patient safety and optimize clinical outcomes, nurses must adhere to strict aseptic techniques and evidence-based protocols.
Phase 1: Pre-Procedure, Assessment & Equipment Gathering
1. Clinical Assessment & Site Selection Criteria
- Verify Medical Orders: Cross-check the provider’s order for IV therapy, type of solution, and rate of infusion.
- Patient Identification: Confirm identity using at least two independent identifiers (Full Name and Date of Birth) against the patient’s ID band.
- Anatomical Evaluation: Always select a distal vein first (e.g., dorsal venous network of the hand) and move proximally for subsequent attempts. This preserves the vein for future use.
- Contraindications: Never use an extremity with an arteriovenous (AV) fistula, lymphedema, a history of axillary lymph node dissection (mastectomy), paralysis, or signs of localized infection/phlebitis.
2. Essential Equipment Checklist
- IV Catheter sizes (commonly 20G for routine infusions, 18G for blood products/surgery, 22G-24G for pediatric/geriatric patients).
- Tourniquet (single-use).
- Antiseptic solution (2% Chlorhexidine Gluconate in 70% Isopropyl Alcohol).
- Extension set or saline lock primed with 0.9% Normal Saline.
- Transparent semipermeable membrane dressing (e.g., Tegaderm).
- Non-sterile gloves and personal protective equipment (PPE).
- Sharps container (must be within arm’s reach).
Phase 2: Step-by-Step Cannulation Procedure
Step 1: Hand Hygiene & Patient Prep
- Perform meticulous hand hygiene using an alcohol-based rub or soap and water.
- Position the patient comfortably, ensuring the extremity is dependent (lowered below heart level) to encourage venous engorgement.
- Apply clean, non-sterile gloves.
Step 2: Vein Dilation Techniques
- Apply the tourniquet 10 to 15 cm (4 to 6 inches) above the intended site. It should be tight enough to impede venous return but loose enough to maintain arterial flow (verify by palpating the distal radial pulse).
- Clinical Tip: If the vein is difficult to palpate, apply a warm compress to the area for 5-10 minutes, or gently stroke the vein distally to proximally. Never slap the vein, as this causes vasospasm.
Step 3: Advanced Skin Disinfection
- Cleanse the chosen site using the Chlorhexidine swab. Use a vigorous back-and-forth, horizontal and vertical friction rub for at least 30 seconds. This friction is critical to penetrate the deeper layers of the epidermis.
- Allow to air dry completely. Do not blow on or wave your hand over the site to accelerate drying, as this recontaminates the skin. Do not palpate the vein again after disinfection.
Step 4: Venipuncture and Flashback
- Anchor the vein by placing your non-dominant thumb 3-5 cm below the insertion site, pulling the skin taut. This prevents the vein from rolling.
- Hold the IV catheter with your dominant hand, bevel facing upward, at a 15 to 30-degree angle relative to the skin.
- Pierce the skin and advance into the vein. Watch closely for a flashback of blood in the flash chamber of the catheter.
Step 5: Advancing the Catheter
- Once flashback is achieved, lower the angle of the catheter almost parallel to the skin (5-10 degrees) and advance the entire unit another 1-2 millimeters to ensure the catheter tip, and not just the needle bevel, is fully inside the vein lumen.
- Slide the plastic catheter forward off the needle stylet using your index finger, while holding the needle stationary. Never reinsert the needle stylet into the plastic catheter, as this can shear the catheter and cause a catheter embolism.
Step 6: Tourniquet Release and Stabilization
- Immediately release the tourniquet.
- Apply gentle digital pressure on the vein just proximal to the catheter tip to minimize blood spillage, retract the needle safely, and activate its safety mechanism.
- Quickly connect the primed extension set/saline lock to the catheter hub.
Phase 3: Post-Procedure Monitoring & Infiltration Checks
1. Confirming Patency
- Aspirate gently for blood return to confirm intravascular placement, then slowly flush the line with 2-3 mL of sterile 0.9% Normal Saline.
- Assessment: Look for localized swelling, coolness, or leakage around the hub during the flush. Ask the patient if they experience burning or pain. The flush should flow smoothly without resistance.
2. Dressing and Documentation
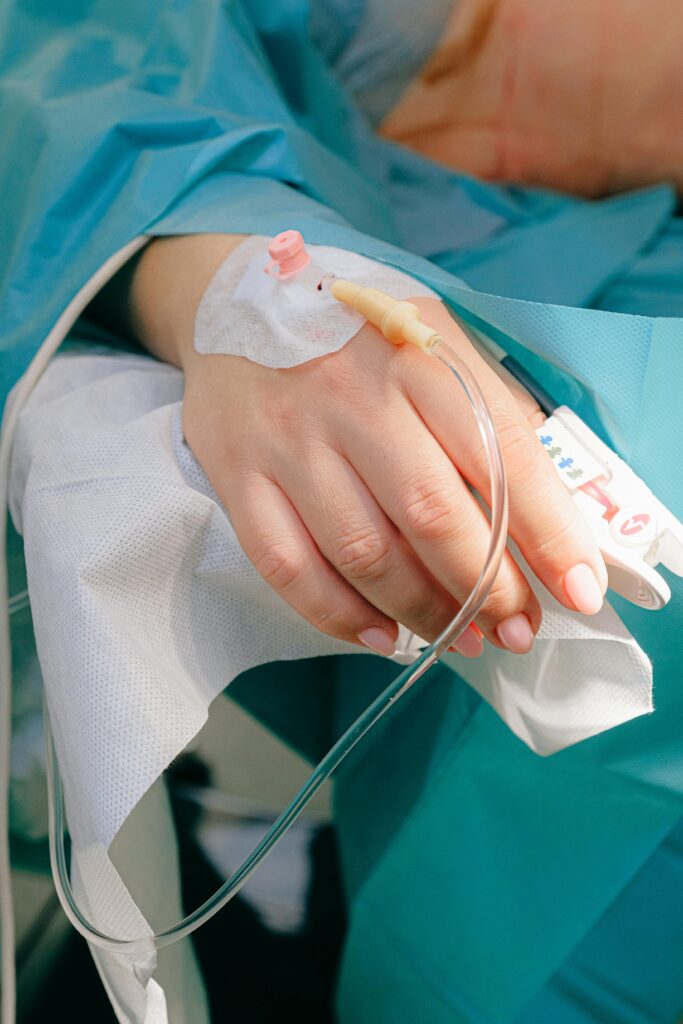
- Secure the catheter hub using a transparent dressing, ensuring the insertion site remains completely visible for ongoing assessment.
- Label the dressing with the date, time, catheter gauge, and your initials.
- Documentation Checklist: Record the date, time, specific anatomical location (e.g., right basilic vein), catheter gauge, number of insertion attempts, patient’s pain tolerance, and the presence of a positive saline flush.
Phase 4: Complication Management (What Nurses Must Watch For)
- Infiltration: Infusion of non-vesicant fluid into surrounding tissue. Signs: Cool skin, edema, pain, sluggish infusion. Action: Stop the infusion immediately, remove the IV, and elevate the extremity.
- Extravasation: Infusion of vesicant medication (e.g., chemotherapy, vancomycin, dopamine) into surrounding tissue. Signs: Blistering, burning pain, necrosis. Action: Stop infusion, aspirate residual drug, notify provider for antidote protocol.
- Phlebitis: Inflammation of the vein endothelia. Signs: Redness, warmth, tenderness, a palpable venous cord. Action: Discontinue the IV line and apply a warm compress.
Disclaimer: This content is for educational purposes only and is intended for nursing students and healthcare professionals. It does not replace institutional protocols, clinical guidelines, or the judgment of a licensed healthcare provider. Always follow your facility’s specific policies and procedures.